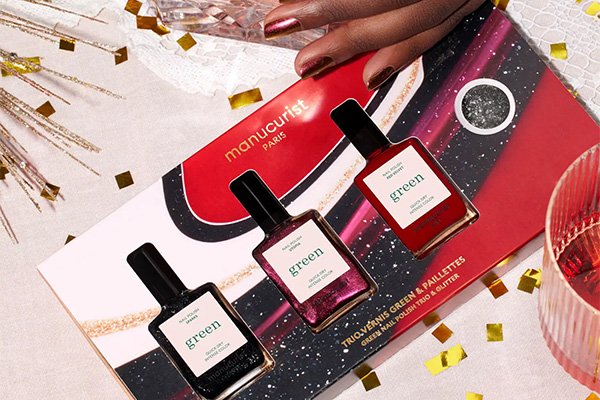
While some people ring in the holiday season with festive knitwear, others like to ease themselves in with a subtle red lip. For us at Cult Beauty we, sit somewhere in between with tiny trails of tinsels and snowflakes falling onto our fingertips. Yes, we’re talking about festive nails!
If you’re looking to add some seasonal cheer to your manicure, look no further – we’ve rounded up the best Christmas nail designs to try out at home… Or to take to your next appointment. Think candy canes, mistletoe, Santa hats and so much more!
THE BEST FESTIVE NAILS
ETHEREAL ENDS
For those who go by a ‘less is more’ mani mantra we come baring good news… When it comes to Christmas nail designs it doesn’t have to be all bells and whistles – a simple but oh so effective sparkling tip will suffice. From champagne golds to icy silvers and whites, these dazzling hues are primed to shine just as bright at your annual work do or when ringing in the new year.
How to: The trick to achieving the ethereal effect? Mixing a cream-coloured nail polish with a chrome top coat. While the base boosts a soft and pearlescent finish, the overlay enhances more of a mirrored finish.
SANTA’S HAT
Pay homage to the holiday greats with the signature Santa hat design – but this time make it glisten. Swapping your French manicure for red and glittery accents, this seasonal set is giving sugar-plum fairy meets Mr and Mrs Claus – and we’re here for it.
How to: when it comes to these festive nails, there are no set rules. You can apply the nail art on just one tip or go full force and decorate them all. To create your Santa’s hat, start by applying a base coat and then with a steady hand create a red French tip. To amp up the artistry, swap out your nail polish brush for a detail brush and draw an upside-down triangle on one. You should start your silhouette just off the centre of your nail, while the tip of the triangle should just about touch your cuticle. To finish off colour in your hat and add some snowy accents. We’re talking a white pom-pom and fluffy trim.
FOREST GREEN HUE
Proving that simplicity is sometimes best, forest green hues allow you to paint your nails with just one colour. With shades like pine and moss falling under this family tree, the complimentary colour boosts that festive feeling without screaming “IT’S CHRISTMAS!”
How to: with single shades, the beauty is in the prep work. Start your manicure with your typical nail care routine – by this we mean pushing down your cuticles and buffing out your bed. Once complete, apply your forest green polish with as many layers as desired. Once dry, add a clear top coat for some added shine. It really is that easy!
MISTLETOE MANI
Mistletoe doesn’t have to be hung from a doorway for you to reap the benefits. Why not just draw them onto your nail beds instead? That way you can keep it close wherever you go…
How to: Once you’ve applied a base coat, paint your nails with a non-sheer, nude polish as your base colour. Next, using a dotter tool, dip the smaller end into red polish and dab three tiny dots randomly spread out on your cuticle. Then, to layer on the leaves with a green polish and a striper brush. Draw two ‘V’s’ — one on top of the other — on each side of the berries, pointing outward away from the red dot, before adding two little strokes inside of the ‘V’s’ to fill in the inside. To finish off your masterpiece, add a few white dots around the design, to give the illusion of snow.
CANDY CANE GLAZE
Giving glazed nails a merry make over, Hailey Bieber took our socials by storm earlier this month with a yet another iteration of her most memorable manicure yet. Let us introduce you to the candy cane glazed nails. Curing our seasonal cravings, this sweet set marries a red French tip with a glossy finish to replicate those peppermint treats typically found hanging off the tree.
How to: like the glazed donut design we experimented with earlier in the year, start your prep by applying a protective base coat. Once dry paint your sheer polish onto your entire nail. And now for the main event – the French tip! For those with less of a steady hand, we suggest placing nail tape where you want your tip to end and shaping it to the natural curve of your nail. Then all that’s left to do is paint the exposed area with the authentic red and white stripes. To do this paint a white stripe covering your tip, then once dry add white stripes.
FROSTED FUN
This year you can have your very own winter wonderland at your fingertips (quite literally) with the fun and frosted manicure. Just like your windows on a cold winter’s morning, this design gives the illusion of a snow day with its pearly base and chrome (or even ombré) top coat.
How to: for an easy at-home rendition, use a white pearly polish as your base coat. Then once dry, layer over a shimmering shade to replicate glistening icicles dripping down your cuticles.
Now you have all the inspiration you need for your holiday nail designs, it’s time to deck the halls (or in this case, finger tips) with some serious festive thrills – ‘Tis the season, after all!
